Search the Community
Showing results for tags 'alloy'.
Found 9 results
-

From the album: Giko's Clicks
© Giko
-
My father scratched the driver side tire to the toll gate pavement when exiting the southern expressway ?. Its a small cosmetic damage, but still annoying to a person with mild OCD. There are no deep cuts, but the paint and surface parts of the wheel is chipped in few places. I saw a post from @Davy explaining alloy wheel repair as a DIY project, but since this is a smaller issue, I believe it will be cheaper & easier to get this fixed from a professional. Can someone suggest a good place to get this fixed? And an approximate cost it will take. Thank you very much. ?


-
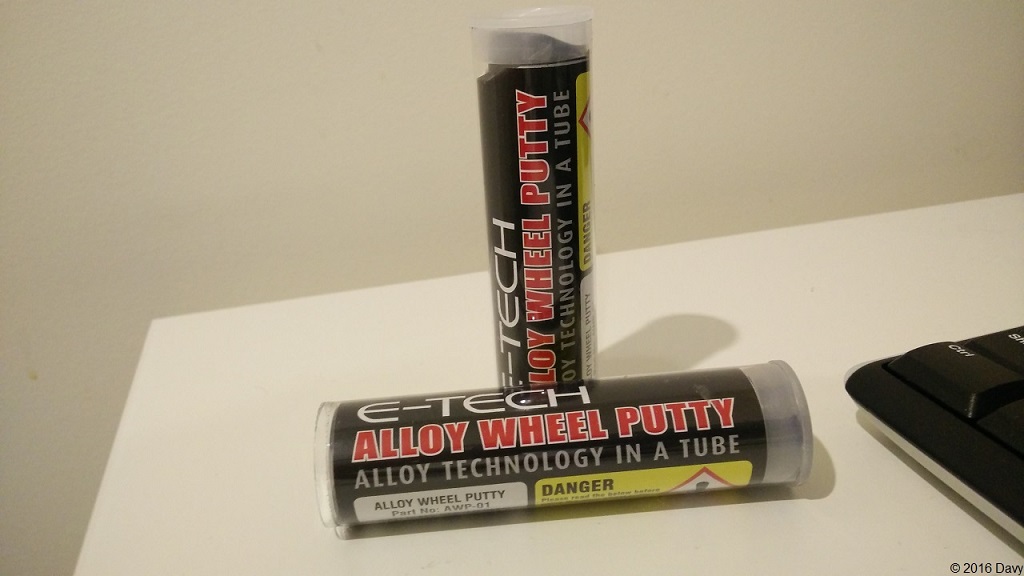
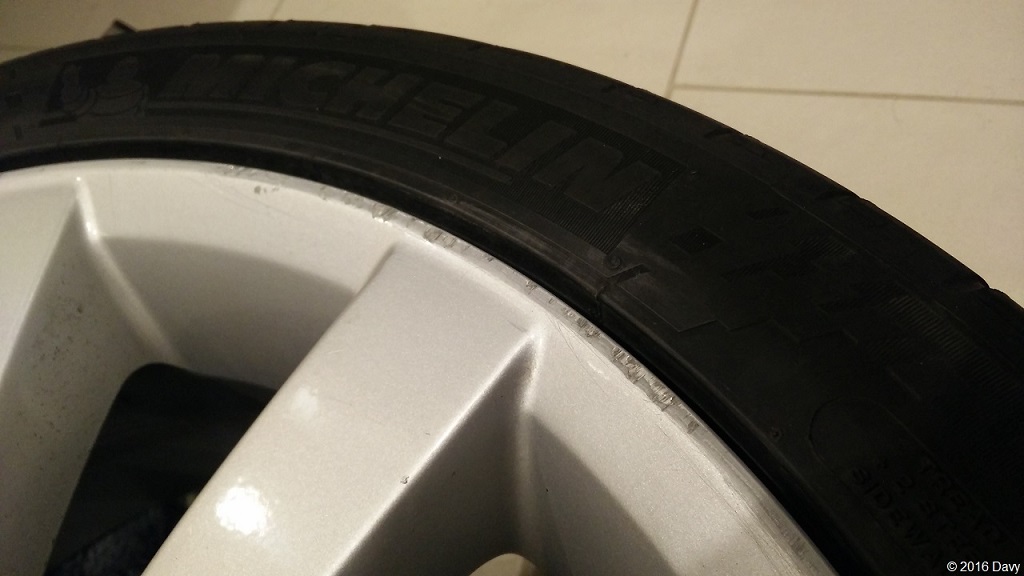
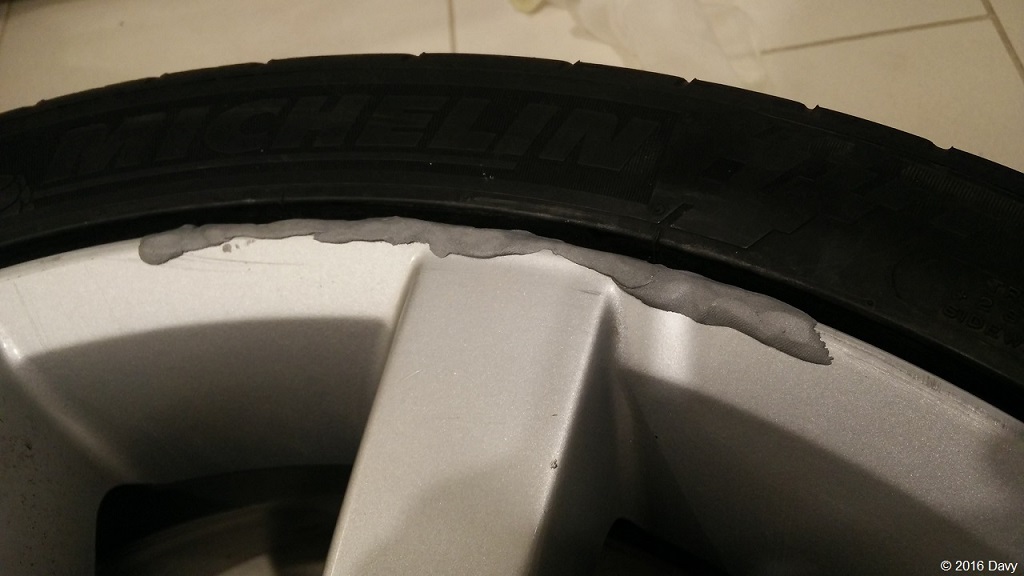
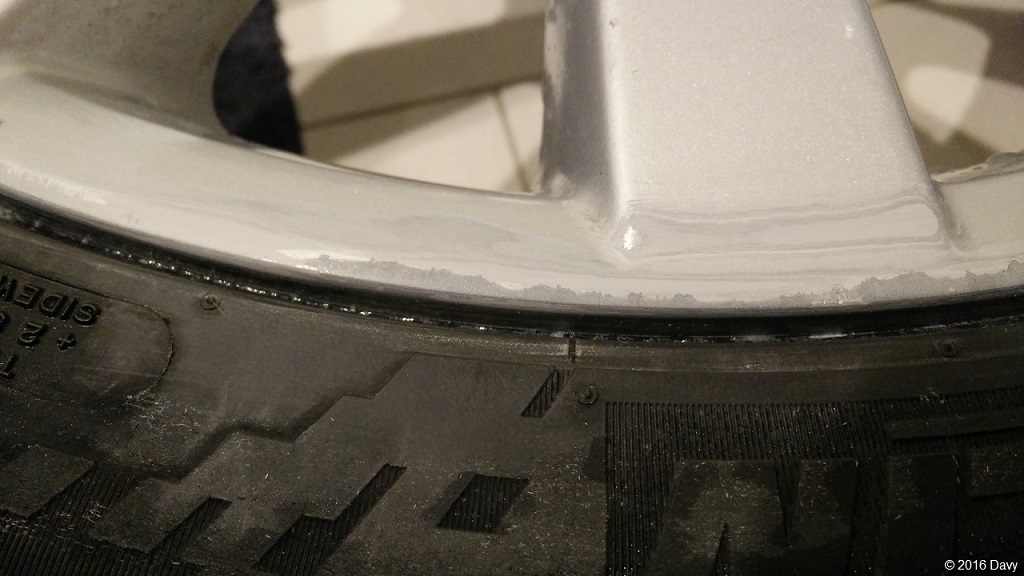
Hi Guys, Posting a DYI again after quite some time. After I got new wheels for my car, the stock rims have been lying around and I thought of repairing them. Two of the wheels had nasty kerb damage thanks to the previous owner who was careless when parallel parking (wheels with the most damage were the ones on the left). When I was looking for a set of used BBS rims for my car, 90% of the rims I found had kerb damage. So the problem is pretty common and getting these professionally repaired and resprayed can cost a lot. If you are keen on doing this on your own, you might find this post useful. Things you need: Alloy wheel repair putty (eBay Link? This is a specially formulated putty to work with alloy wheels and I found it to be very effective. Sandpaper (200, 400, 800 wet, 1200 wet) Masking tape, scissors, old newspapers to mask Clean rags Water for wet sanding Wax and grease remover/Degreaser Old toothbrush Rubber gloves For illustration purposes, I have selected one area of a rim where you can see kerb damage. This is what I’ll be working with. Step 1: Prepare the surface for repair Using degreaser, toothbrush and a rag, scrub and clean the area and get the grime out of the damaged area. As you can see from the above photo, there’s a lot of grime in there. Next, use the coarse dry sandpaper to remove any material that maybe protruding out of the surface of the wheel. We need a smooth surface and the alloy wheel putty needs to fill in the scratches. The following photo is after sanding and washing the area. Step 2: Apply the repair Putty The putty is a stick and has the texture of crafting clay. It’s a two-part putty and you need to knead it between your fingers for the two parts to mix up (wear gloves for protection). Then roll it on a flat surface to form a very thin bead. Place the bead on the damaged area and press firmly. As the two parts start to react, you can feel the putty heat up. It hardens up rock solid within about 15 minutes. You can start sanding in about an hour. Remember not to apply excessive amounts of putty, because a lot of effort will be needed to sand it down if you do. The stuff is a bit harder to sand than regular body filler. This was the first spot I applied the putty to, I applied a little too much and had to spend a lot of time sanding it down. So once again, VERY little. This photo is probably a bad example of how to apply it, but you get what I mean. Step 3: Sanding Start with 200 grit dry sandpaper and work your way to a smooth surface. Use masking tape to prevent damage to the tyre. If you plan to do only a touch-up and not paint the entire wheel, you might need to mask the wheel as well, to avoid scratching it up. Run your bare fingers on the edge of the rim from time to time and feel the smoothness, you should be able to tell if there are imperfections. When the surface is smooth, move to wet sanding (first 800 grit and then 1200 grit to remove the fine scratches). If you plan to paint the entire wheel, water sand the wheel with these two papers so that the surface has a “blunt” texture. The new paint will stick better this way. After the sanding is done, the surface will look nice and smooth, no more kerb damage! It’s important to sand the putty down so that there is no excessive putty between the tyre and the wheel, you can insert the sandpaper into the gap and sand away, the original curve of the wheel needs to be maintained. As you can see from the above photos, I have sanded the putty all the way down to the rim so that the only bit remaining is the putty that fills the scratches. This is exactly what we need. If you feel like you need one more pass, go ahead and repeat step 2 and 3 again. This is it for the repair. All that is left now is to paint the area. I will cover that in a separate post. Let me know what you guys think and if you know of other ways of DIY methods to repair wheels. Thanks for reading! Cheers!


- 15 replies
-
- 8
-

-

-
- kerb damage
- diy
- (and 6 more)
-
Happy New Year everyone, Please do let me know if you guys know any place to get an alloy wheel repaired. (Refer the picture attached) Even if it's a temporary repair that is fine till I buy a new set. TIA

-
My Honda FIT GP5 S Grade 16' ALLOY got damaged badly. I want to buy it from somewhere near colombo or suburb. (It's too expensive in S***D M****S & S****G. Can anyone suggest me a good place to buy original GP5 S Grade 16' ALLOY? Attached image is what I'm looking the type of ALLOY. Thanks in Advance.

-
Hi All My alloy wheels are scraped , discolored etc and is not nice. I have read old threads but have not understood whether I should paint it or is there any other plating mechanism. Can you advise me how to sort this out and if you can let me know where to get it done in Colombo, how much cost approximately for a Mazda Demio. Thank you!
-
Hi Guys, It’s been some time since I did a DIY worth mentioning about. Not having a car of my own yet, so nothing really going on these days under the hood. A good friend of mine wanted to get his rims painted in matte black and (knowing what a grease monkey I am) asked me if I can pull it off. Naturally, I said yes. So here’s the car. It’s a2007 Subaru Impreza WRX with a 2.5L Turbo Intercooled engine. A little rocket I would say. The rims on the car were silver. Original colour had been white and the previous owner had painted the faces in silver. The front wheels were covered in brake dust, so cleaning them took a quite long time. The photo below was taken after we took the car to a car wash and pressure washed all four wheels and giving them a good scrub. Still you can see a lot of brake dust and grime. Thanks to the previous owner, there were some prominent scratches on the left side rims because they got too close to the curb. So this was the starting point. The rims were still really dirty (especially on the reverse side), so we decided to take off each rim and give them a good clean up. Most people apply plasti-dip while the rims are on the car by masking off the brake components using a garbage bag. That was our initial plan, but the amount of dirt and grime on the rim was too much and a thorough clean-up was necessary. Plus, covering the inside of the rim cannot be done 100% if you paint the rims while they’re still on the car. This is what you will need: - Grease and grime remover (oven cleaner or something similar) - Clean rags - A good brush (one with plastic bristles to prevent scratching the rims) - Masking tape - Gloves and masks - Plasti-dip (3 cans will be enough if you paint carefully – 4 coats per rim) - Garbage bag/bin liner STEP 1: CLEANING UP THE RIMS Start cleaning the reverse side first. Apply a liberal amount of grease and grime remover and scrub thoroughly using the brush. Make sure you cover all nooks and crannies. Rinse with water. Repeat the process until the rims are spotless. Repeat the same for the front side of the rim. After washing, wipe the rim dry. Saturate a small part of a rag using grease remover and wipe the rim with it one last time. This will ensure that the remaining water is evaporated soon because most grease removers have a small percentage of alcohol. Make sure the rims are dry before proceeding to the next step. Now the rims are ready to be plasti-dipped. STEP 2: PLASTI-DIP THE INNER WALL Apply one thick coat of plasti-dip on the inner wall of the rim. Let it dry for about 15 minutes. Apply a simiar second coat. Let it dry again for 15 minutes. You can work on the other wheels while one is drying up. Remember that you only need to cover the areas that can be seen from outside when the rim is installed onto the car. This is quite different from painting the rims. At this point, you have two options: 1. Mount the wheel onto the car and continue painting 2. Complete painting and mount the wheel after all coats have been applied We had to follow a combination of option 1 and 2 because we had only two jacks to keep the car on, and we had only about 6 hours to complete the job. If you decide to follow option2, you can read ahead and ignore the stuff specific for option 1. One thing to note if you follow option 2 is to spray over the wheel nuts (2 – 3 coats) after the wheels have been mounted. STEP 3: MOUNT THE WHEEL* Install the rim carefully, making sure you don’t touch the inside of the rim which was plasti-dipped. It should have dried up by now, but still might peel off if too much pressure is applied. STEP 4: MASK THE BRAKES* Grab one of the garbage bags and cover the brakes. Use masking tape to keep the garbage bag in place if necessary. Make sure the garbage bad does not touch the rim at all. If it does, the plasti-dip will peel off when we take off the garbage bag later. Crumple the garbage bag so that it could be inserted through the spokes of the rim and thread it around the rim. Don’t forget the valve stem and dust cap. Use masking tape to cover. STEP 5: PLASTI-DIP THE FRONT SIDE Apply the first coat. If the wheel is mounted onto the car, make sure you tilt the can at all possible angles and cover as much of the surface as possible. Allow to dry for 15 – 20 minutes. After 2 coats, move the car so that the wheels turn approximately 60 degrees. This way, you will see the spots you missed during the first two coats. If you're spraying on a removed rim, just spin the rim 60 degrees between coats. While spraying, make sure you spray the inner wall as well, through the spokes because we only sprayed 2 coats onto the reverse side. After 4 coats on the front side, you would have sprayed enough plasti-dip through the spokes to give a thick layer on the inner wall as well. Continued...


-
Hi, Please tell me a place to buy 4 original alloys for my Mazda Axela, Regads
-
Hi, I want to fix a alloy wheel to my car. The issue is that a part of the wheel that i have is brushing against the brake caliper. A single spacer is not doing the trick either. What can I do?